In todays blog I want to show you guys how to web-scrape with Power Automate instead of PAD. This scenario suits for integration with simple Web UI navigations (where use cases could be ordering equipment online, as a part of an onboarding process).
Why combine Power Automate with PowerShell and Selenium C# Library:
- We are demonstrating what you can do with Power Automate by using the Azure Automation tool invoking PowerShell scripts using C# libraries. This can be an alternative to invoking Azure Functions (which is also costly).
- With PowerShell invoked in a Power Automate flow, you technically have access to a wide range of .NET libraries already from C#. This means you can leverage existing .NET libraries and use them in your Power Automate workflows.
- In this case it saves us from using PAD (Power Automate Desktop) licensing for specific web-automation tasks. This is done by setting up a “Hybrid Worker” VM that takes the signal from Power Automate and executes the local Web Automation script.
Prerequisites:
- Access to create an Azure Automation account in our Azure Tenant
- A Virtual Machine where you want the PowerShell script to run
- A Power Automate Premium license to invoke and execute Azure Automation runbooks
Setting up the Azure Automation Environment
Alright, let’s start with setting up and preparing our Azure Automation Account together with our Log Analytics Workspace.
Start by searching and navigating to the Log Analytics workspaces services.

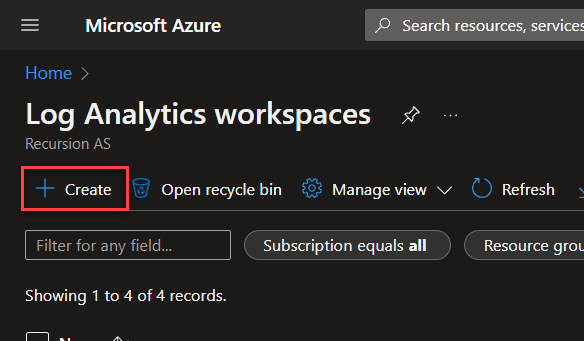
Now create a new Log Analytic workspace by clicking the “Create” option.

Fill out the details for your workspace and give it a suitable name. Click “Review + Create“.
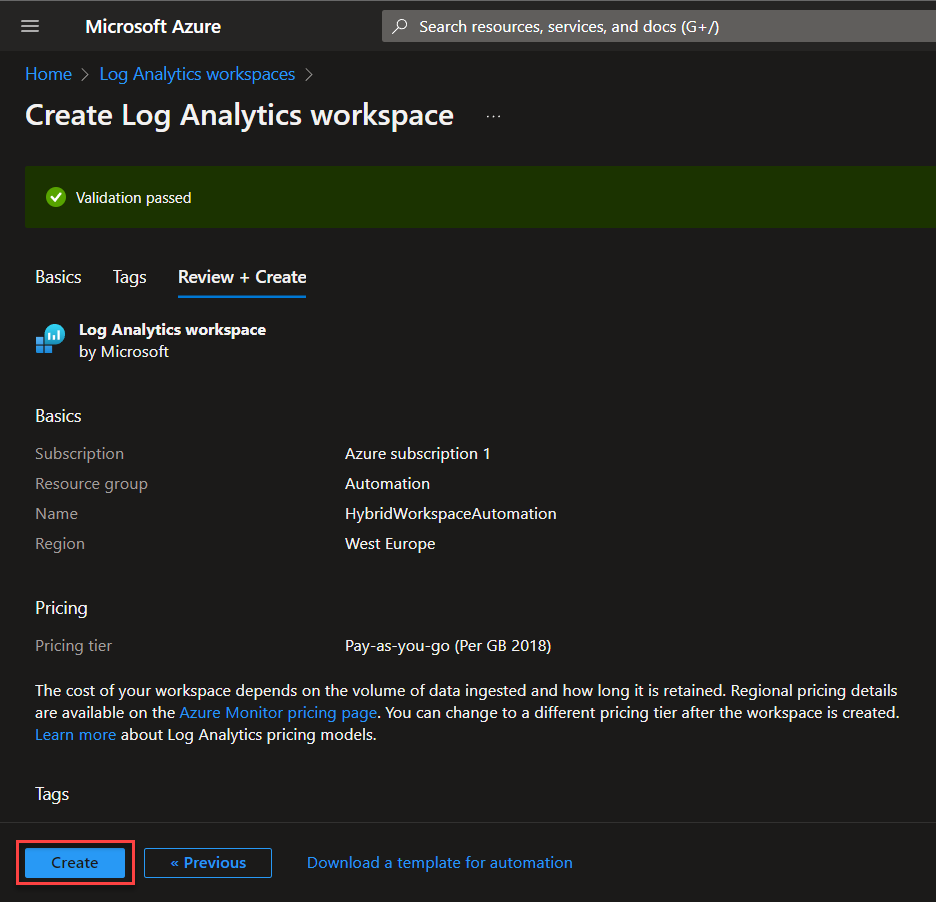
Continue to create the resource.
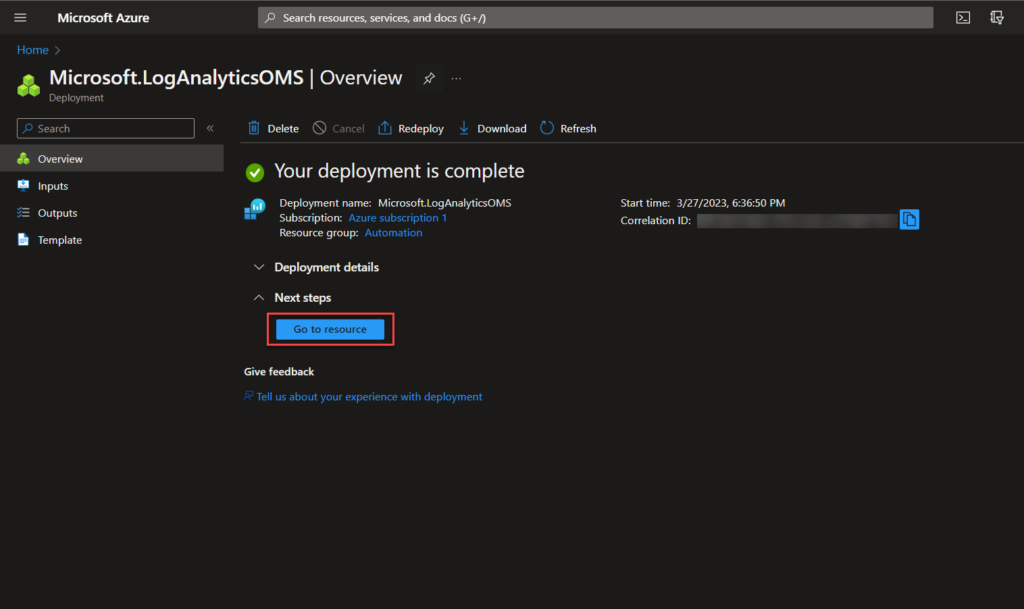
Navigate to the resource overview

Select the “Workspace summary (deprecated)” menu
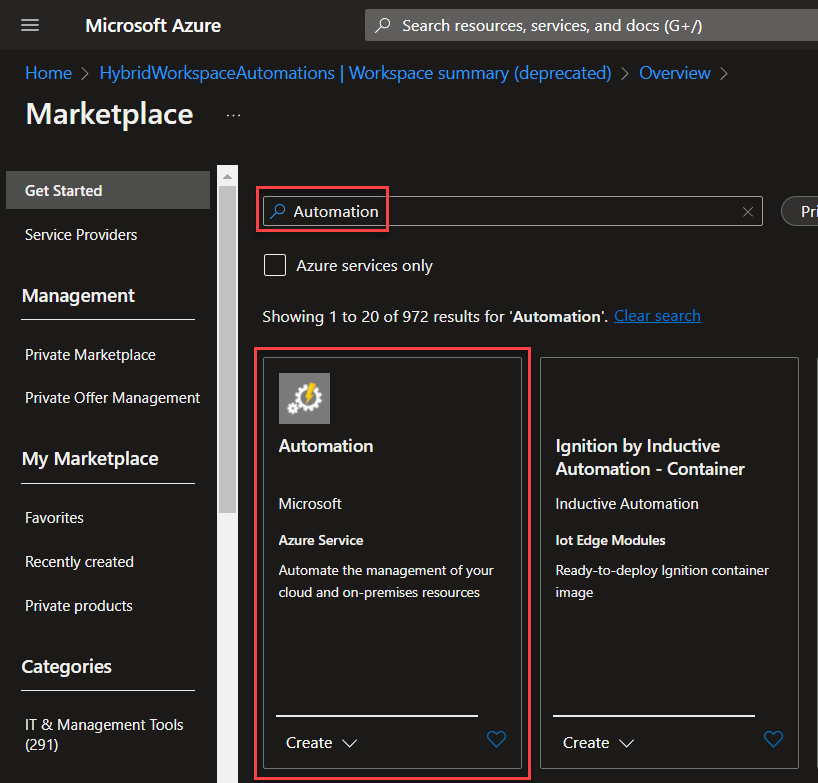
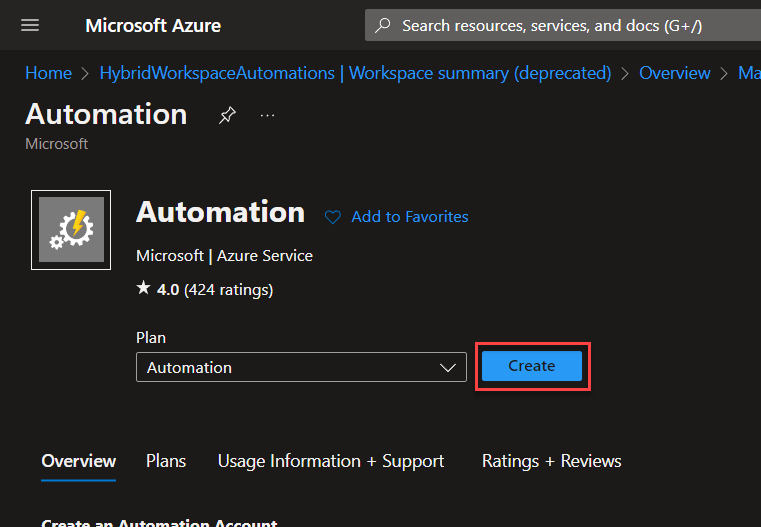
Now click “Create” to setup the Azure Automation Account service.

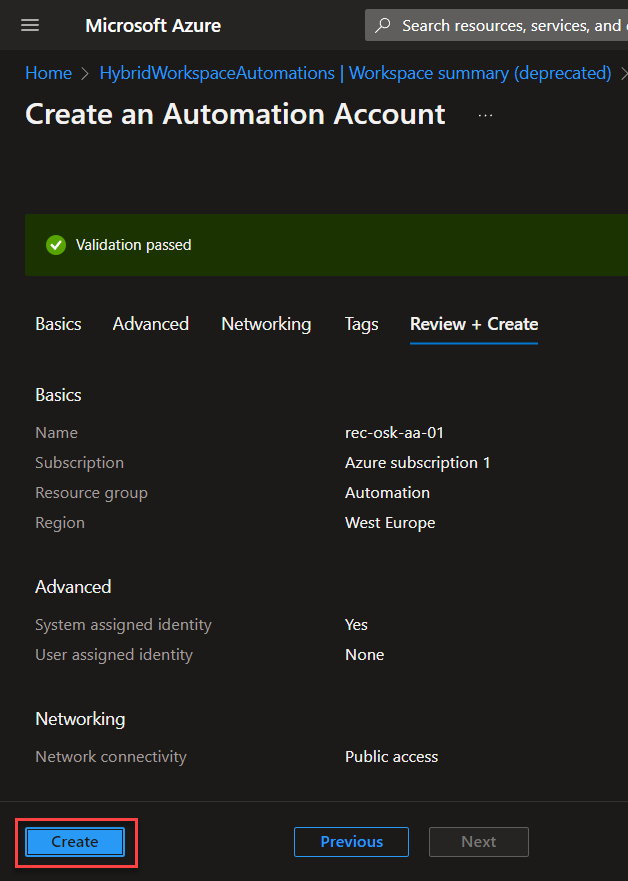

Navigate to the resource overview.

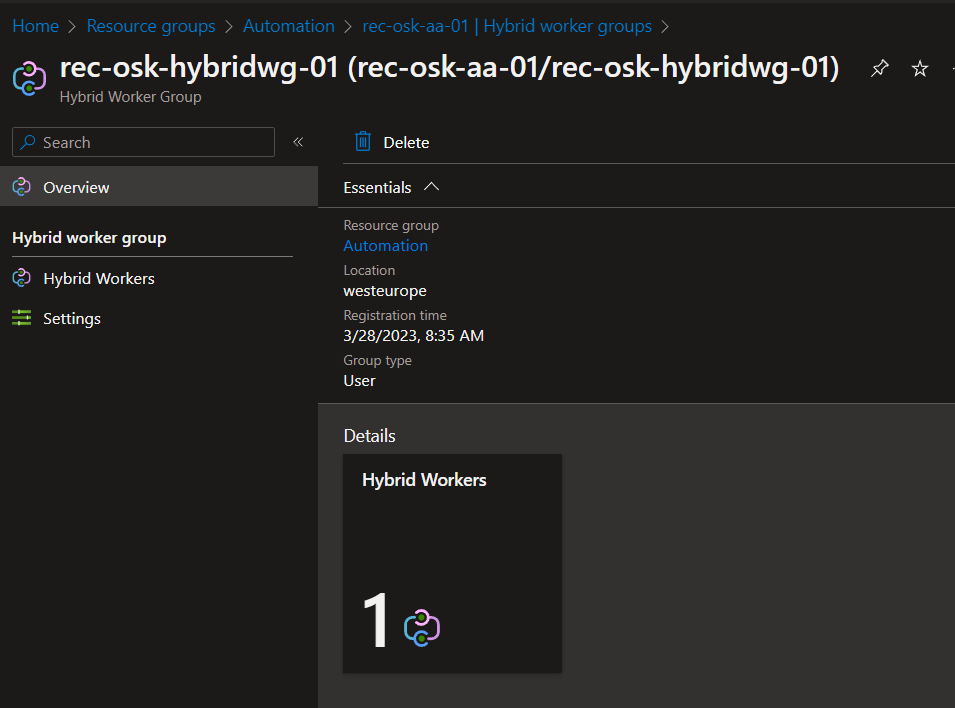
Now we need to link the new Azure Automation account together with the Log Analytics workspace “HybridWorkspaceAutomation“.

Navigate to the Hybrid worker groups section, and create a new group as seen above!


Setting up the Hybrid Worker VM
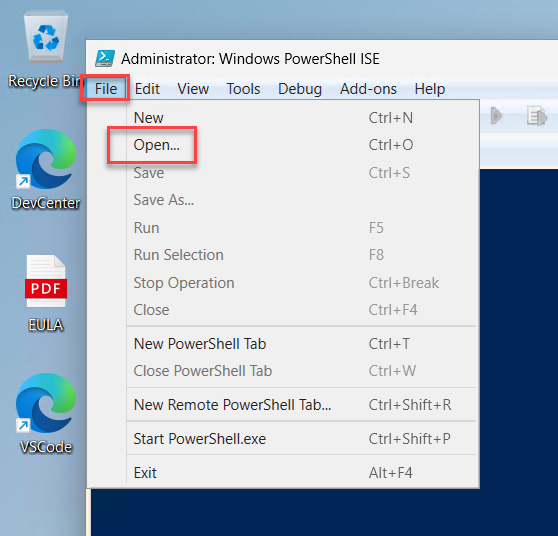
To setup and prepare the VM you need to configure the script based on the resources that we’ve created previously. You may download the script from PowerShell Gallery | New-OnPremiseHybridWorker 1.7 and for specific details and documentations on running this script, there is a read on it from here: Deploy an agent-based Windows Hybrid Runbook Worker in Automation | Microsoft Learn
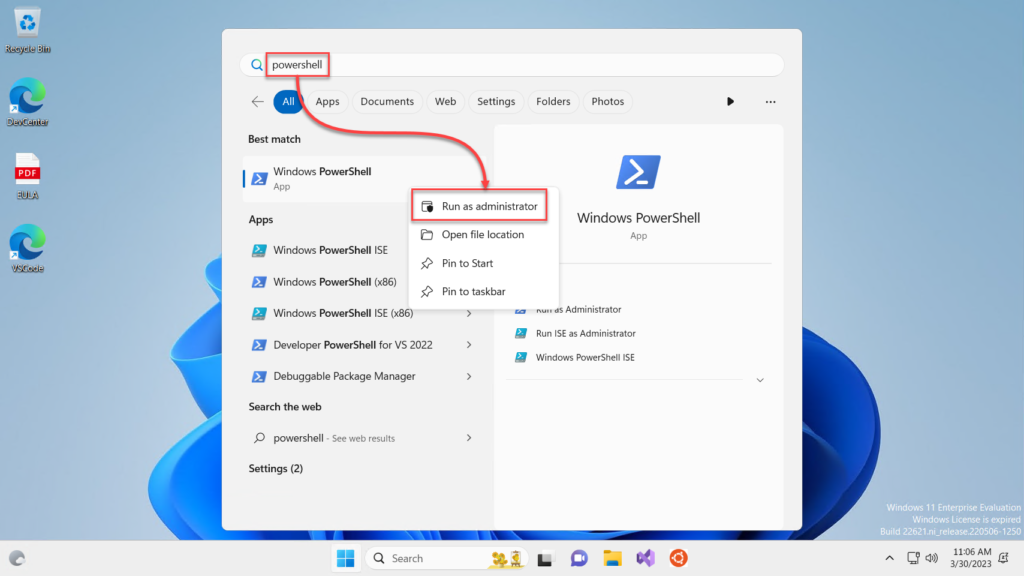
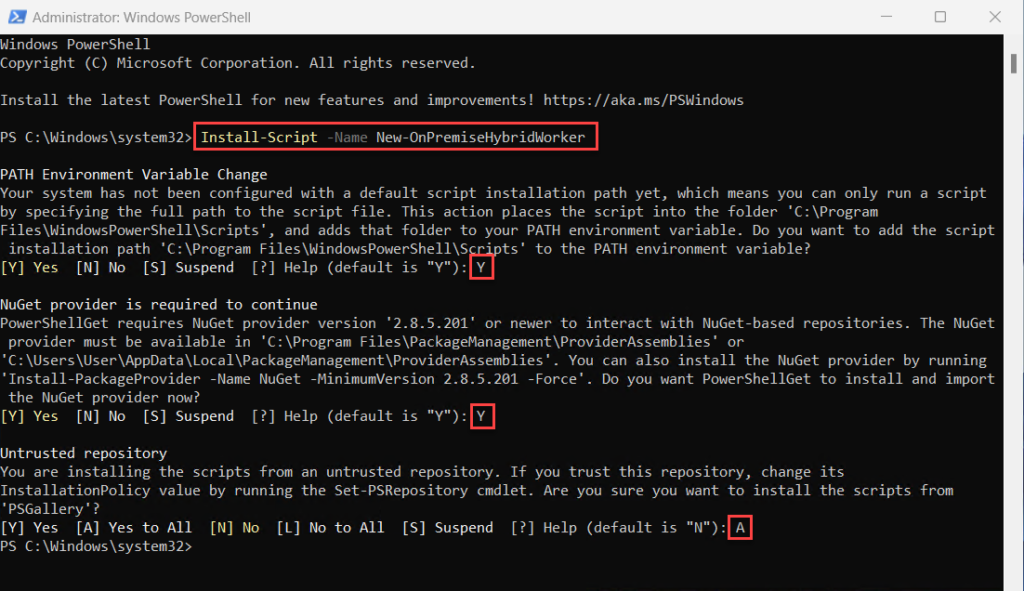
Install-Script -Name New-OnPremiseHybridWorker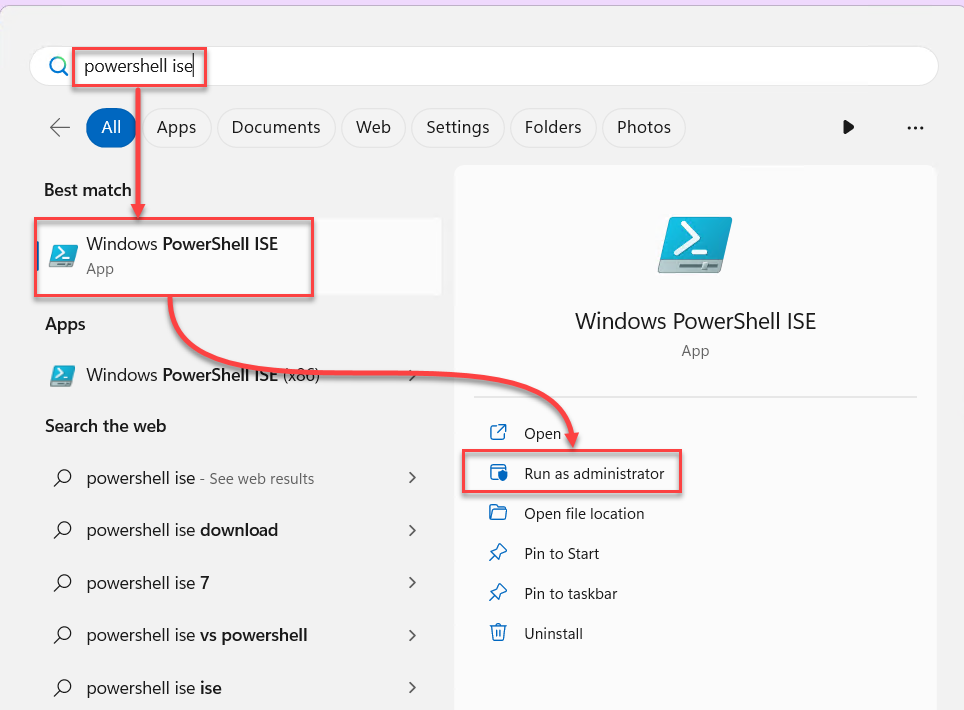
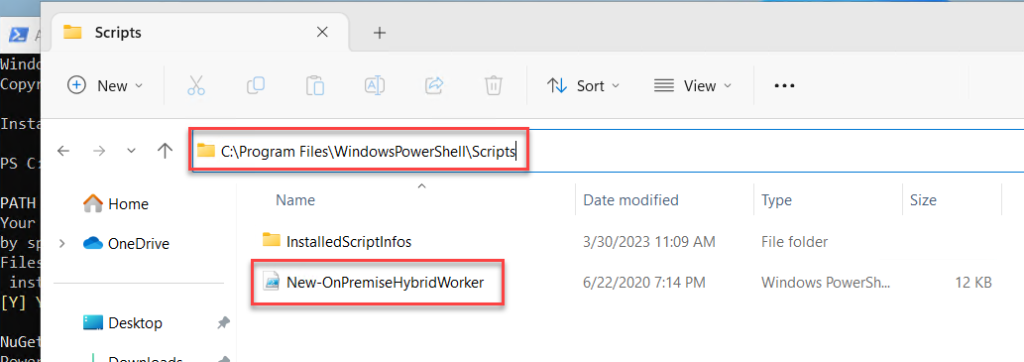
C:\Program Files\WindowsPowerShell\Scripts\New-OnPremiseHybridWorker.ps1
Set-ExecutionPolicy -ExecutionPolicy Unrestricted -Scope LocalMachine

Setting up our PowerShell script for Web Automation
For this demo, we’re using the following script below. Just to explain, the script is supposed to initialize the Selenium Web Driver for Microsoft Edge and navigate to https://rpachallenge.com/ and fill out the necessary fields for submission.
Note: This Selenium Driver is specifically for Microsoft Edge 111.0.1661.54 (latest Edge Version). In order for it to function on your specific Edge Browser version, you will need to download the other versions and replace the msedgedriver.exe within the folder from Microsoft Edge WebDriver – Microsoft Edge Developer
Below is a download link to my script and the msedgedriver.exe that works for my version at the time that I run this. Note: I’ve hardcoded the PowerShell script to fetch the libraries and webdriver from C:\selenium – so make sure after extracting to put the folder into the C:\ drive.
Param
(
  $company = "Recursion Blog",
  $firstName = "Ga Kin",
  $lastName = "Chi",
  $role = "Power Platform Enthusiast",
  $email = "[email protected]",
  $phone = "+47 103 45 678",
  $address = "The other side of the moon!"
)

# Load the Selenium WebDriver assembly for Microsoft Edge
Add-Type -Path 'C:\selenium\WebDriver.dll'

#Add-Type -Path $assemblyPath

($assemblyPath)

$options = New-Object OpenQA.Selenium.Edge.EdgeOptions
$options.AddArgument('start-maximized')
$options.AcceptInsecureCertificates = $true

$driver = New-Object OpenQA.Selenium.Edge.EdgeDriver($options)
$driver.Url = "https://rpachallenge.com/"

$driver.FindElement([OpenQA.Selenium.By]::CssSelector('input[ng-reflect-name="labelCompanyName"]')).SendKeys($company)
Write-Host "Typed in Company field: $company"

$driver.FindElement([OpenQA.Selenium.By]::CssSelector('input[ng-reflect-name="labelFirstName"]')).SendKeys($firstName)
Write-Host "Typed in First Name field: $firstName"

$driver.FindElement([OpenQA.Selenium.By]::CssSelector('input[ng-reflect-name="labelLastName"]')).SendKeys($lastName)
Write-Host "Typed in Last Name field: $lastName"

$driver.FindElement([OpenQA.Selenium.By]::CssSelector('input[ng-reflect-name="labelRole"]')).SendKeys($role)
Write-Host "Typed in Role field: $role"

$driver.FindElement([OpenQA.Selenium.By]::CssSelector('input[ng-reflect-name="labelEmail"]')).SendKeys($email)
Write-Host "Typed in Email field: $email"

$driver.FindElement([OpenQA.Selenium.By]::CssSelector('input[ng-reflect-name="labelPhone"]')).SendKeys($phone)
Write-Host "Typed in Phone field: $phone"

$driver.FindElement([OpenQA.Selenium.By]::CssSelector('input[ng-reflect-name="labelAddress"]')).SendKeys($address)
Write-Host "Typed in Address field: $address"

#$driver.FindElement([OpenQA.Selenium.By]::Name('ws-seach-input')).Submit()
This is how it looks like when I run the script locally on the VM:
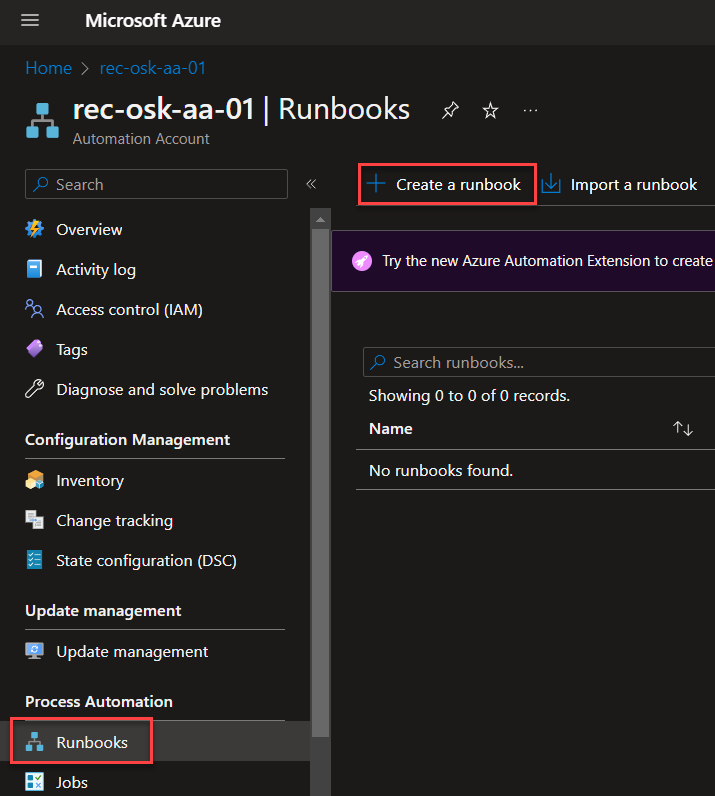
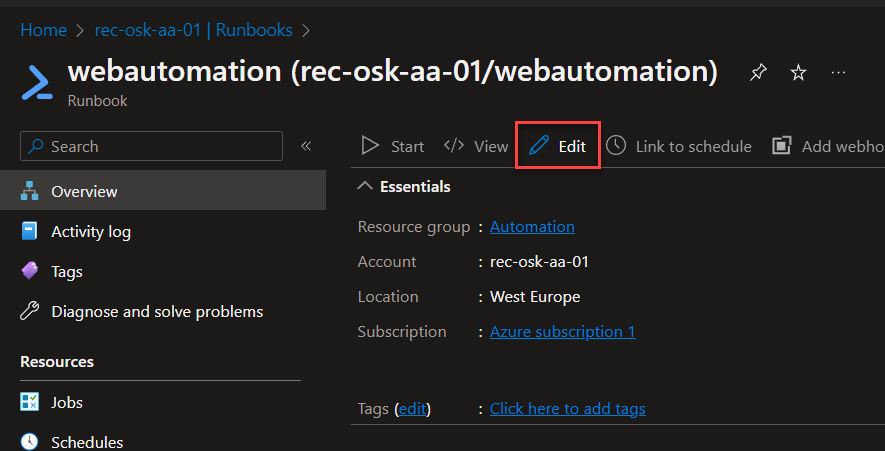
Go back to the Azure Automation account (rec-osk-aa-01) that we created earlier on and create a new runbook:

Param(
    [string]$company,
    [string]$firstName,
    [string]$lastName,
    [string]$role,
    [string]$email,
    [string]$phone,
    [string]$address
    )

powershell.exe -ExecutionPolicy Bypass -File 'C:\selenium\template.ps1' -company $company -firstName $firstName -lastName $lastName -role $role -email $email -phone $phone -address $address -User $env:USERNAME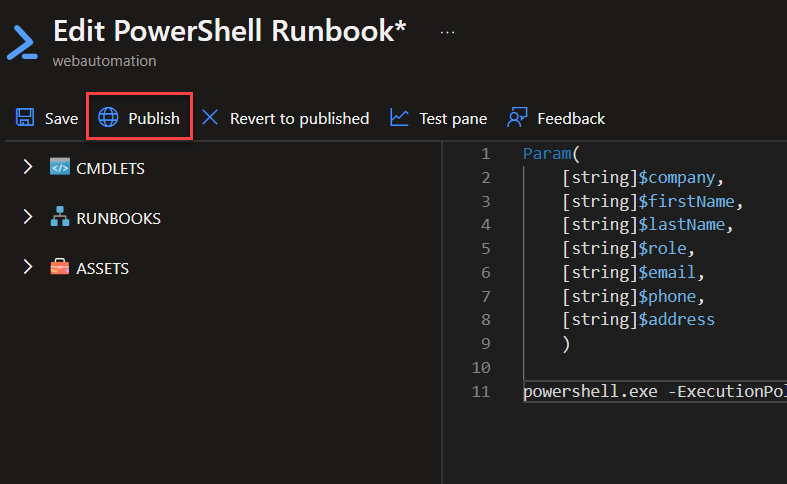
Save and Publish the runbook

When you run the runbook, it should trigger the script as hidden session on the local VM and start the web automation process filling out the fields.
And finally the Power Automate flow
Power Automate flow in this case will be a manual trigger, but it can be changed to get triggered based on value inputs from Microsoft Forms, Power Apps or other Microsoft services.

Summary
This blog post outlines the benefits of using Power Automate with Azure Automation and Selenium C# Library for Web UI automation, highlighting its potential to automate the web. By leveraging existing .NET libraries, Power Automate provides a cost-effective alternative to PAD and instead invoking PowerShell scripts from Azure Automation with Power Automate Cloud flows. The post provides insights into integrating PowerShell and Azure Automation into UI automation processes and aims to equip readers with the knowledge to implement Power Automate for automating Web UI tasks.
Leave a Reply