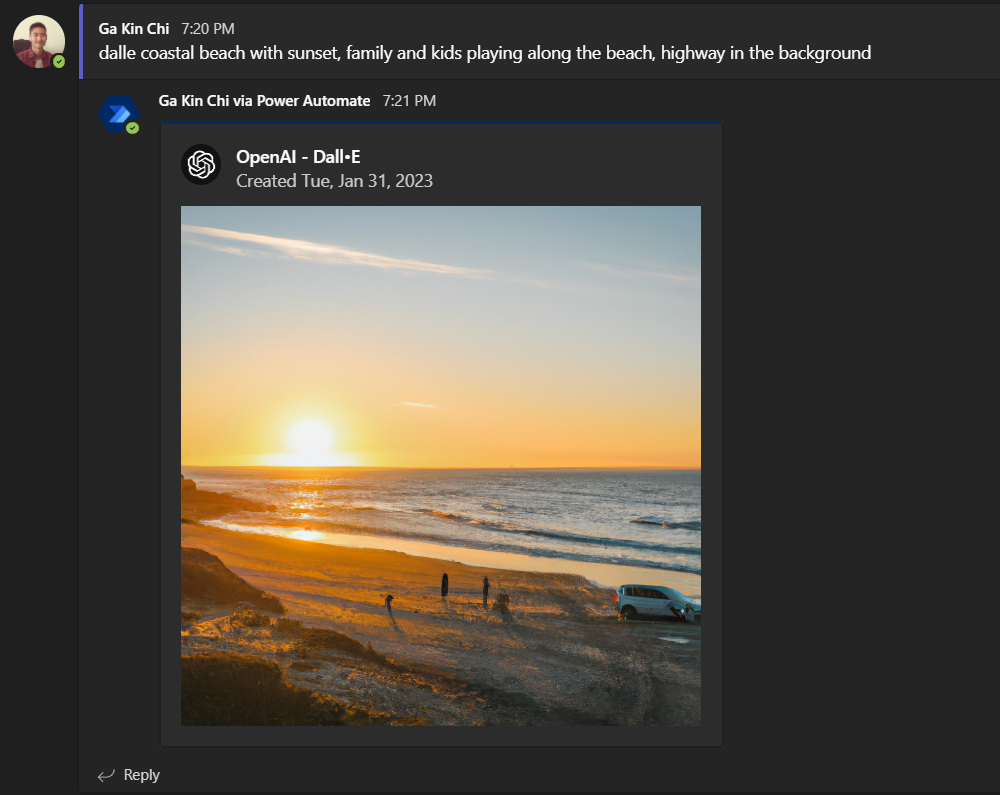
One of my favorite use-cases with Power Automate is leveraging its HTTP-action capabilities to integrate with external services mixed with Power Platform and Microsoft services. In one of my previous blogs – Power Automate: Integrate ChatGPT/OpenAI in Microsoft Teams – recursion.no, I shared a guide on how to integrate OpenAI/GPT3 into Microsoft Teams by using a Power Automate flow. In this blog, I aim to expand on that integration by incorporating OpenAI’s cutting-edge Dall•E technology. This allows users to generate custom images based on their input text, making it a powerful and effective tool for creative expression and content producers. Whether you’re a tech enthusiast or just curious about the possibilities of this technology, this blog is the perfect starting point. So buckle up, let’s go geek-mode and learn how to build a Power Automate flow integrating OpenAI Dall•E 2 in Microsoft Teams! 😎
Our goals:
- How to work with the OpenAI/Dall•E Text-To-Image API and create an integration to Microsoft Teams, by leveraging the Power Automate services
- How to convert base64 string from a JSON payload to binary data
- How to use SharePoint site to store images from external services
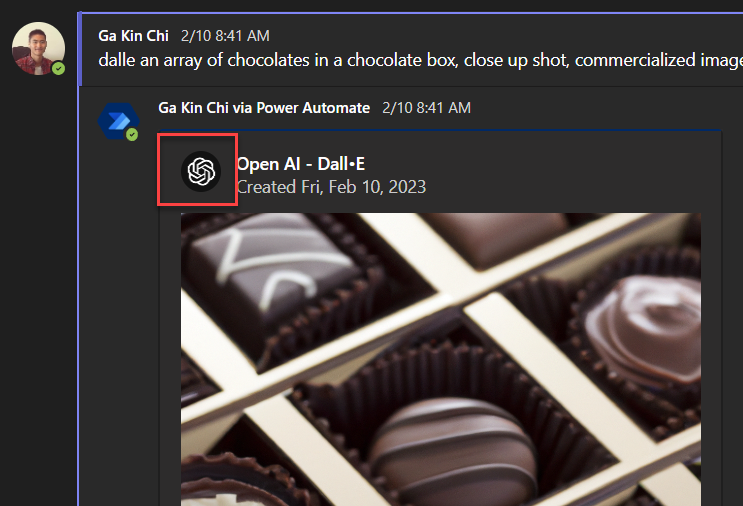
- How to display Dall•E images in Microsoft Teams by using Adaptive Cards for Microsoft Teams.
Prerequisites:
- An OpenAI API account registered from – OpenAI API
- Power Automate Premium license to use HTTP actions.
- An active Office 365 account with access to create new/existing Teams channels
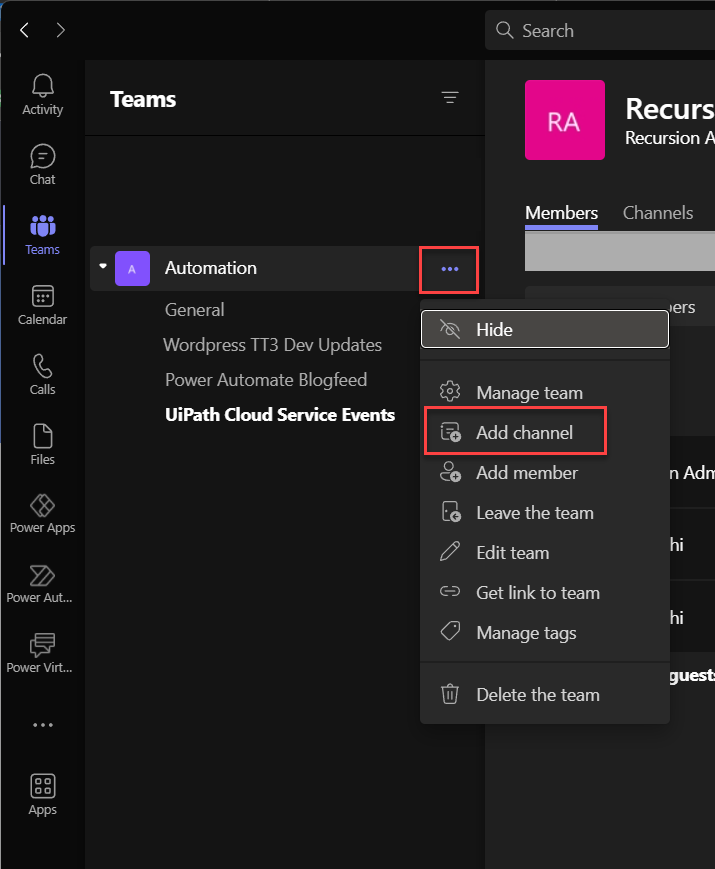
Create a new dedicated Teams channel (as administrator/owner)

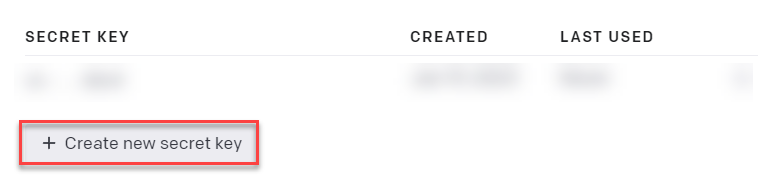
Create your OpenAI API account and token secret
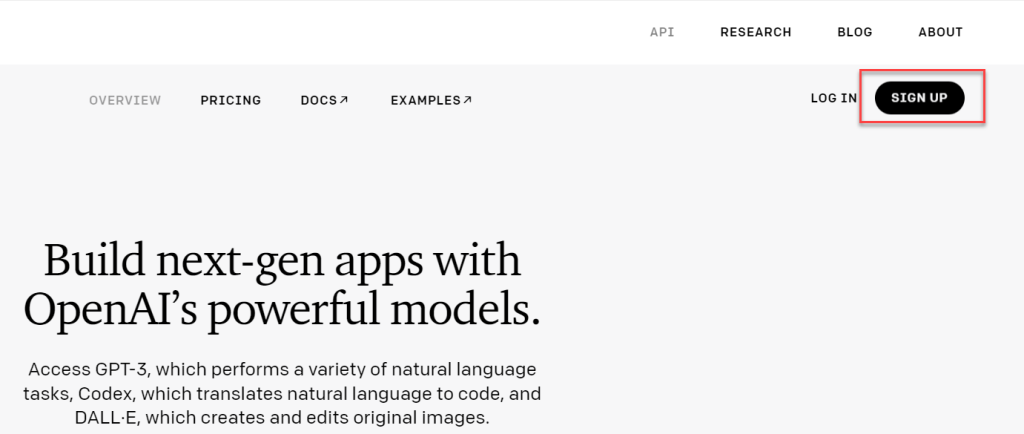
Navigate to https://openai.com/api and create a new account by signing up, if you haven’t done so.
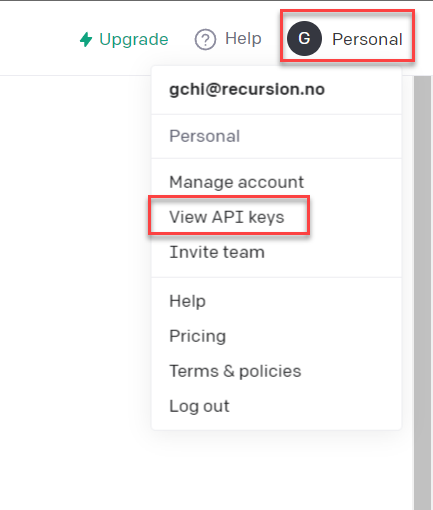
After registration, you need to verify your mail-account in which they will send you a verification in your mailbox. On your first login, you’ll be prompted to provide your personal details and phone no.
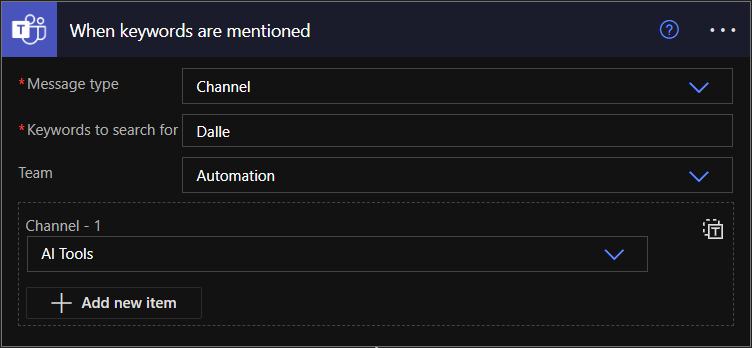
Create the Power Automate flow for integration to a Teams channel
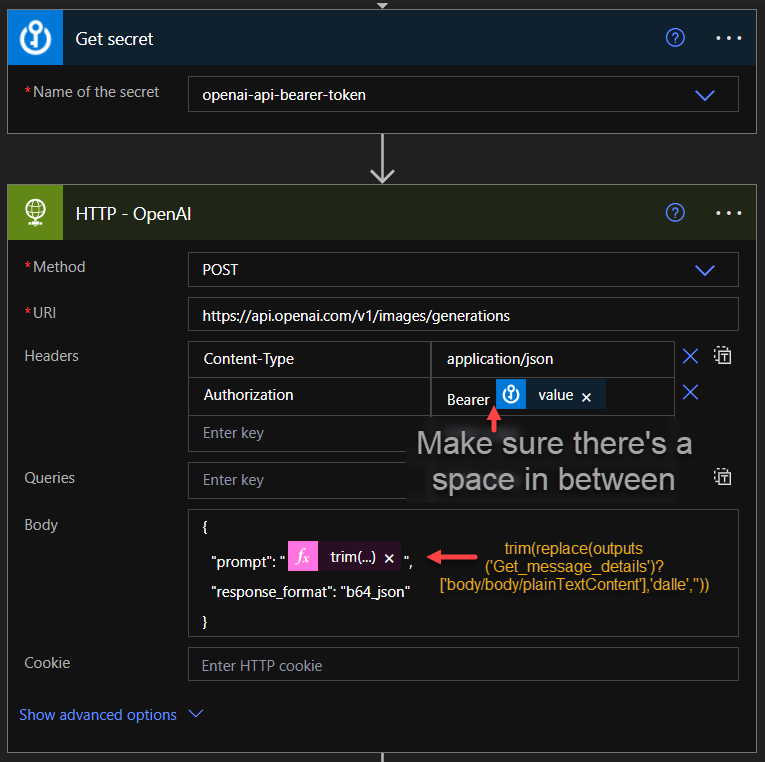
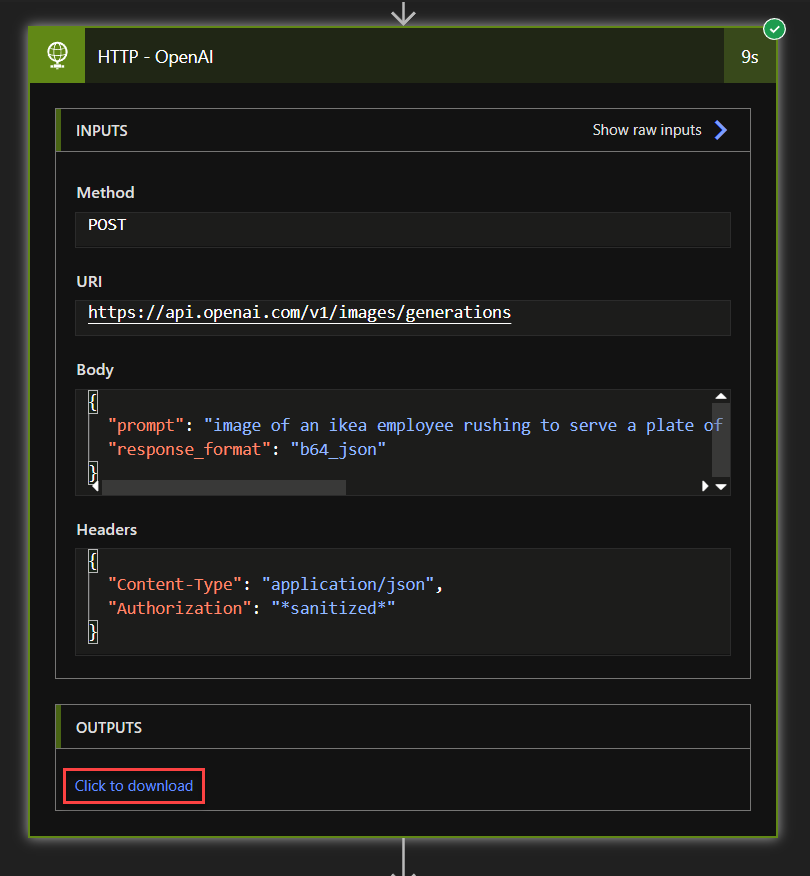
Continue with an HTTP action and fill out as seen above. A copy of the details is written below. (Instead of pasting in my OpenAI token directly, I use my Key Vault Secret instead).
URI:
https://api.openai.com/v1/images/generationsMethod:
POSTHeaders:
"Authorization": "Bearer {token secret}"Body:
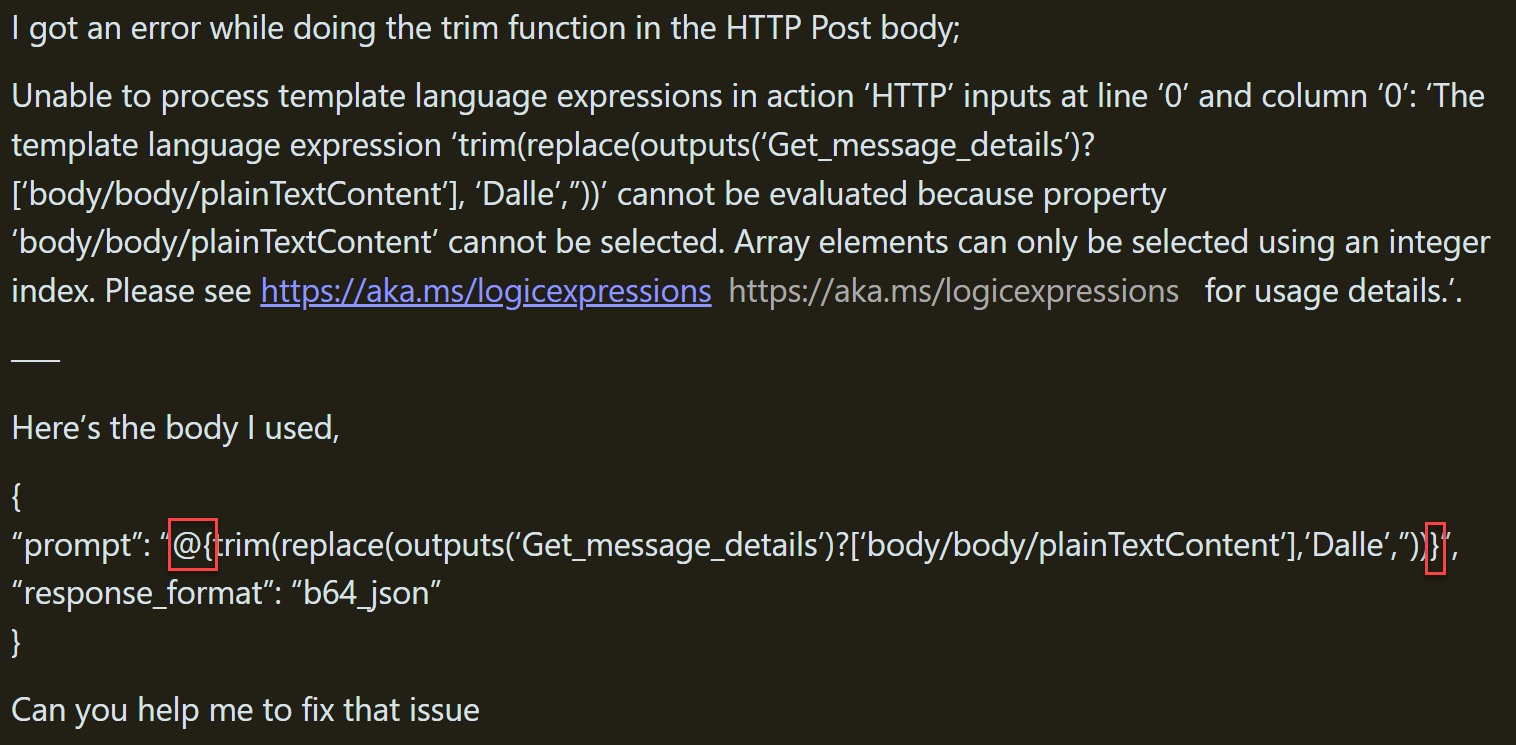
{
  "prompt": "@{trim(replace(outputs('Get_message_details')?['body/body/plainTextContent'],'dalle',''))}",
  "response_format": "b64_json"
}
A few explanations and context for our body:
- prompt: Can maximum contain 400 words. (When you define your picture in text, keep it short and simple).
- response format: Optional input, if this one is not defined then the format is set to “url” which will give you a response with a temporary Azure Blob Storage file link. If the response is “b64_json” then a Base 64 string is returned back. For this guide we are going to set it to the latter as we want to store the files permanently in a SharePoint list.
- ❗Note: If you plan to change it to a URL in the future, be cautious of using the trigger word “dalle”, as this could cause an infinite trigger loop due to OpenAI’s use of Azure’s Blob Storage service, which features a link containing the word “dalle.” To avoid this issue, I highly recommend taking precautionary measures.❗
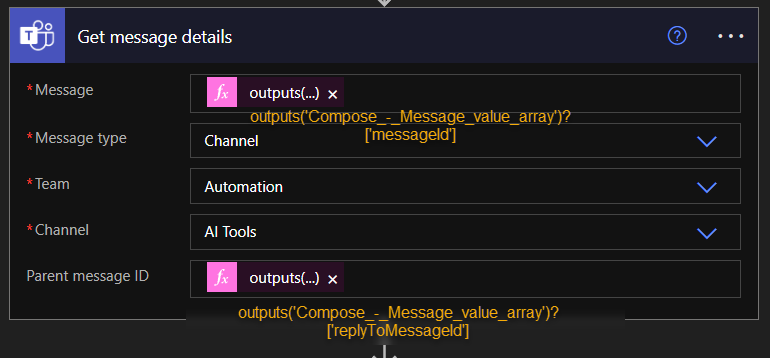
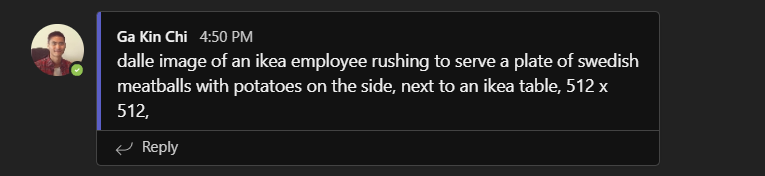
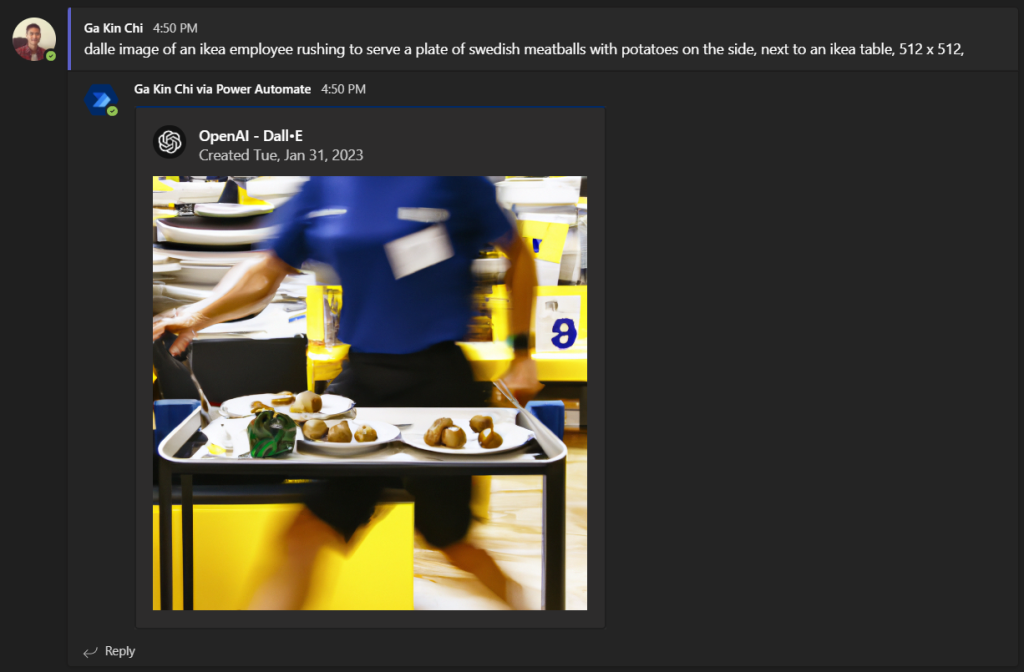
Now save and trigger the flow once from your Teams channel (ask about anything) and wait for a response, as we want to parse the JSON values from the returning body.
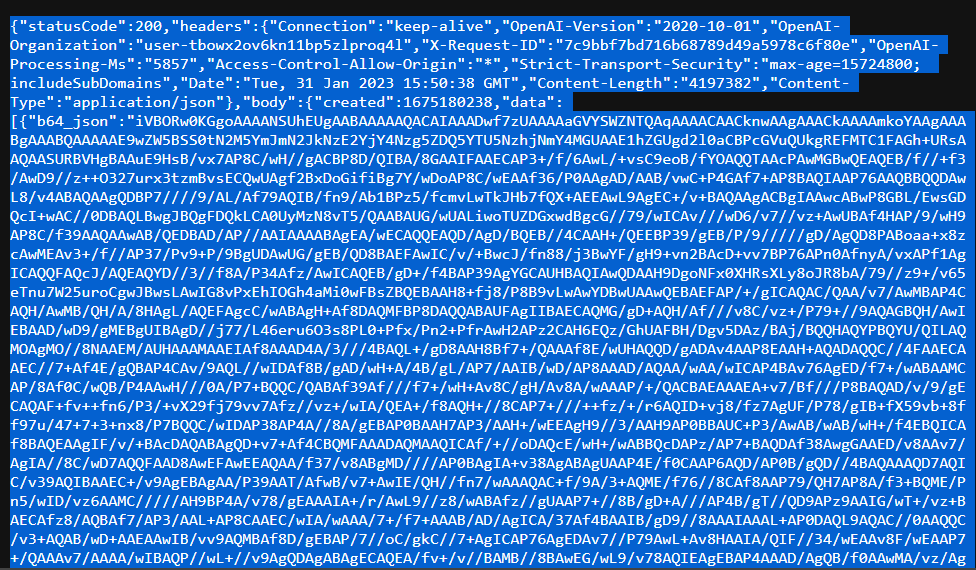
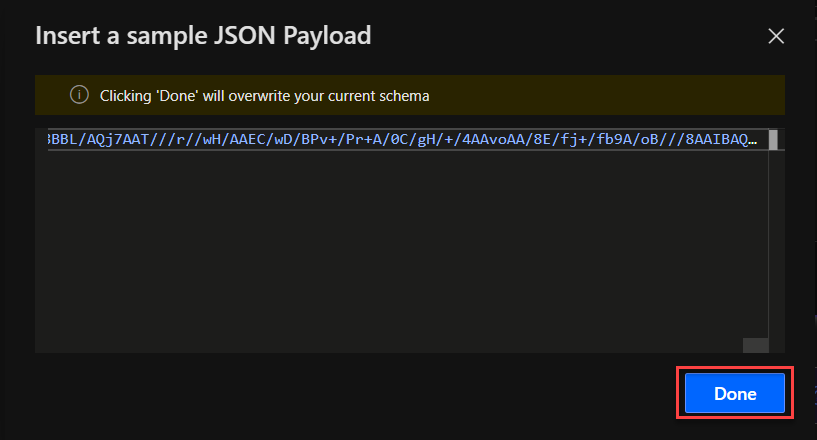
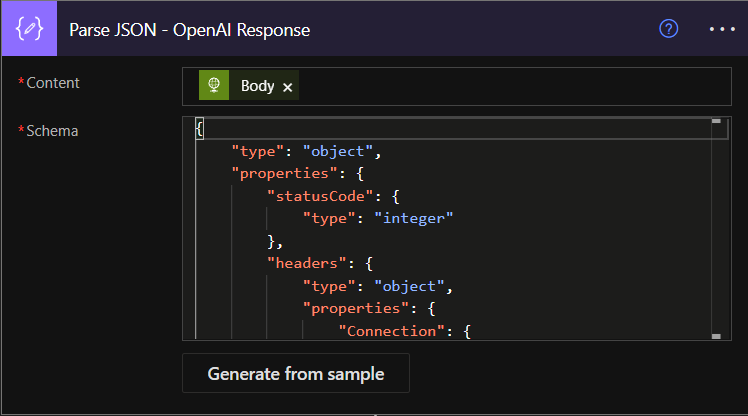
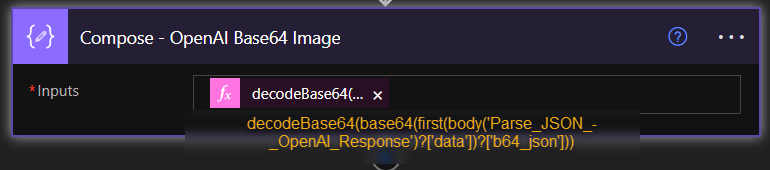
Now we want to transform the base64 string value to a real decoded base64 object, and use this decoded base64 value and later on convert it to binary before feeding it to our SharePoint list.
The Compose expression is written below:
decodeBase64(base64(first(body('Parse_JSON_-_OpenAI_Response')?['data'])?['b64_json']))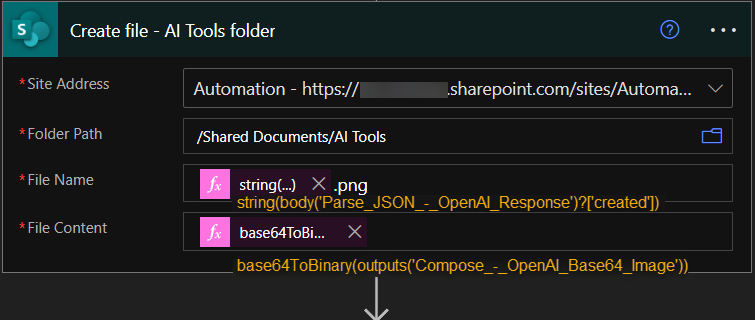
Use the “Create file” action related to our SharePoint site connected to the teams we created. I’ve also attached another image below to locate the “Folder Path” location, in case you’re unsure about it.
File Name:
string(body('Parse_JSON_-_OpenAI_Response')?['created'])File Content:
base64ToBinary(outputs('Compose_-_OpenAI_Base64_Image'))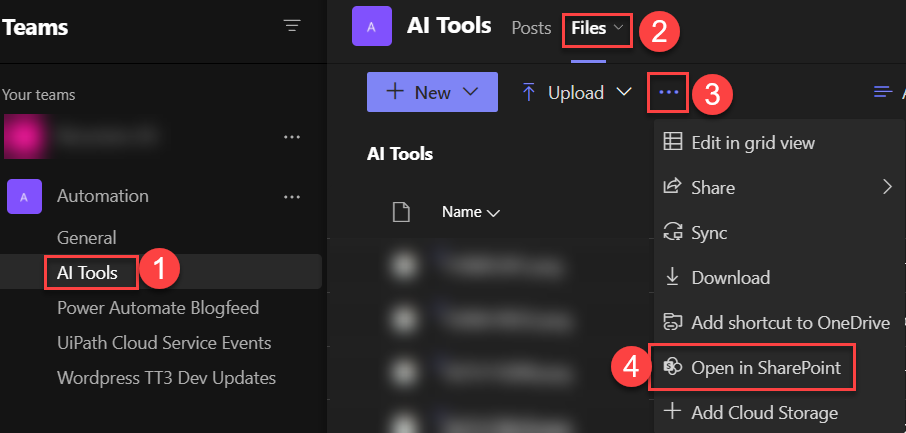
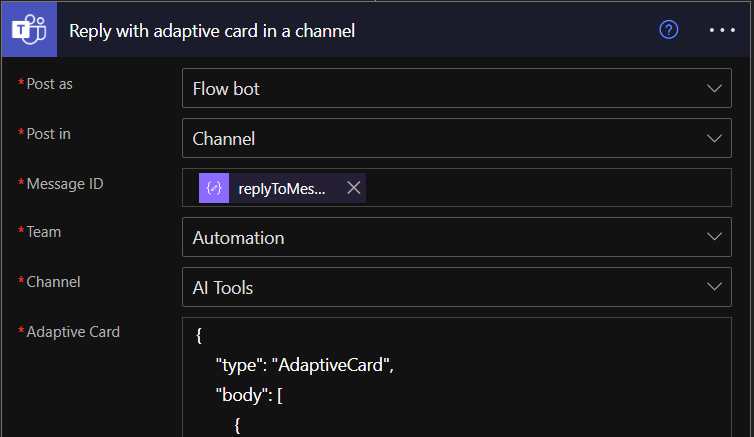
Add a “Reply with adaptive card in a channel” action, and replicate the information above.
Message ID:
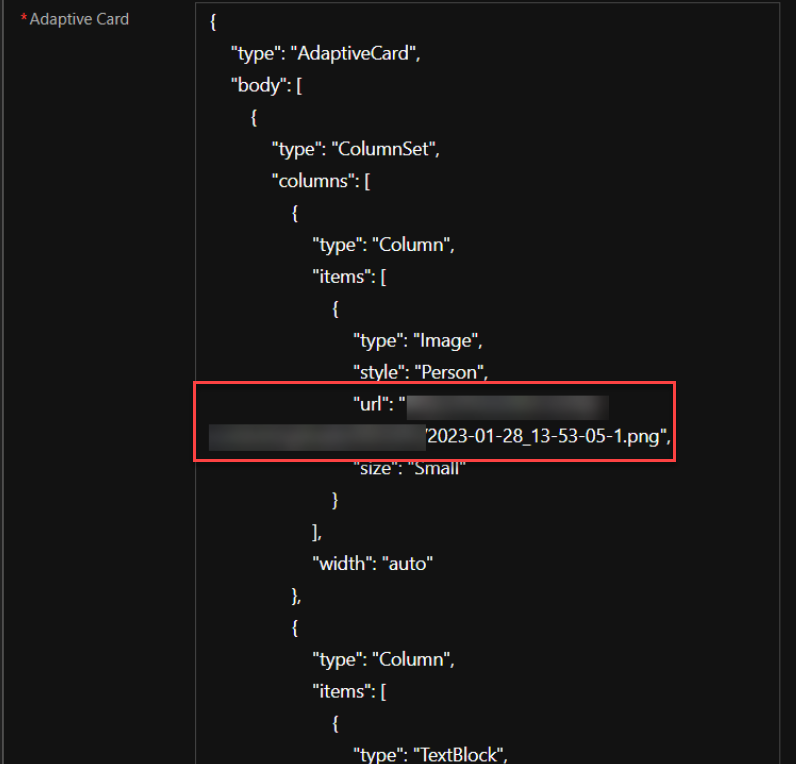
@{outputs('Compose_-_Message_value_array')?['replyToMessageId']}Adaptive Card:
{
    "type": "AdaptiveCard",
    "body": [
        {
            "type": "ColumnSet",
            "columns": [
                {
                    "type": "Column",
                    "items": [
                        {
                            "type": "Image",
                            "style": "Person",
                            "url": "{your weburl for icon image}",
                            "size": "Small"
                        }
                    ],
                    "width": "auto"
                },
                {
                    "type": "Column",
                    "items": [
                        {
                            "type": "TextBlock",
                            "weight": "Bolder",
                            "text": "Open AI",
                            "wrap": true,
                            "fontType": "Default"
                        },
                        {
                            "type": "TextBlock",
                            "spacing": "None",
                            "text": "Created @{formatDateTime(utcNow(), 'ddd, MMM dd, yyyy')}",
                            "isSubtle": true,
                            "wrap": true
                        }
                    ],
                    "width": "stretch"
                }
            ]
        },
        {
            "type": "Image",
            "isVisible": true,
            "url": "https://{tenantname}.sharepoint.com/sites/Automation@{outputs('Create_file_-_AI_Tools_folder')?['body/Path']}"
        }
    ],
    "actions": [
        {
            "type": "Action.OpenUrl",
            "title": "Full Size",
            "url": "https://{tenantname}.sharepoint.com/sites/Automation@{outputs('Create_file_-_AI_Tools_folder')?['body/Path']}"
        }
    ],
    "$schema": "http://adaptivecards.io/schemas/adaptive-card.json",
    "version": "1.4"
}
And this was the last action of the flow! Now hurry up and save it(!) to test the solution out! Remember the trigger keyword “dalle“!
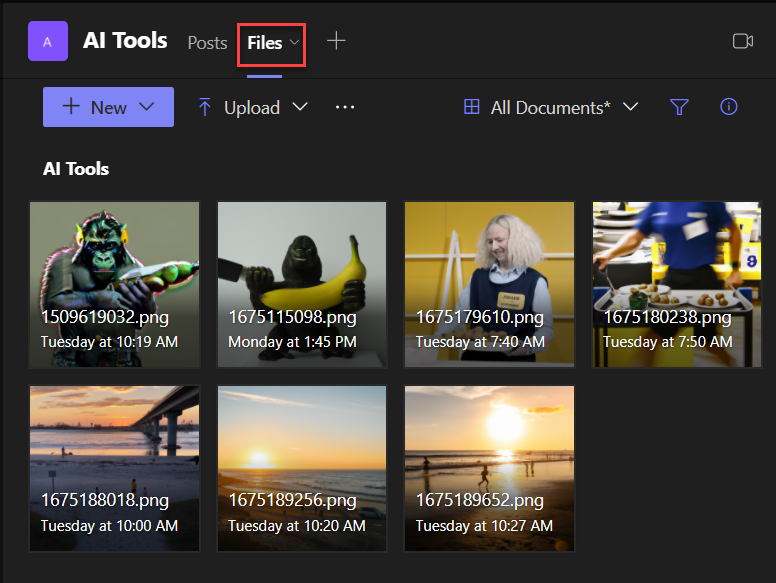
All your historical files are now stored in the same file folder of your teams channel, using the equivalent SharePoint location in the “backend” – making it super easy to check for your image collection created previously directly in the Teams channel! Pretty neat! 😉
Summary
We have explored how to use OpenAI/Dall•E API, Power Automate services, SharePoint sites and Adaptive Cards for Microsoft Teams to create an integration between OpenAI/Dall•E and Microsoft Teams. We have gone through the steps of converting base64 strings from a JSON payload to binary data, and how to store images from external services in a SharePoint site. Finally, we have seen how to display Dall•E images in Microsoft Teams using Adaptive Cards. With this knowledge, you can now easily create an integration between OpenAI/Dall•E and Microsoft Teams! 🤖
Our final flow overview looks like this:

Leave a Reply